Skip to main content
Search
Search This Blog
Paper Fairy Kris
Creative inspiration from Kris Kilkenny, Independent Stampin' Up! Demonstrator.
Pages
Blog
Catalogs
Color Refresh
Shop Specials
About Me
Paper Pumpkin
Join
Stamping Challenges
Need a Card?
More…
Posts
Showing posts from December, 2009
Show all
December 17, 2009
Merry Christmas!
December 14, 2009
Altered Candle
December 13, 2009
Brown Bag Hot Chocolate Card
December 12, 2009
Altered Gift Bags
December 11, 2009
The More the Merrier Top Note Tag
December 10, 2009
Baby Christmas Tree
December 09, 2009
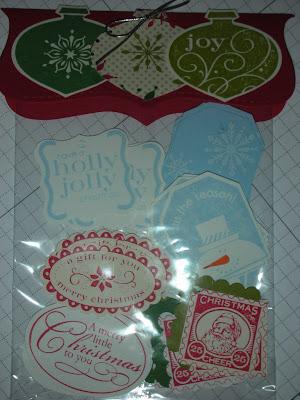
Christmas Gift Tags
December 03, 2009
Cappuccino Truffle Card
December 01, 2009
Sweet Treat Cup Slider Card
Newer Posts
Older Posts
Home