
My Inky Friends Stampin' Up! Blog Hop: Love it. Live it. Share it.

Welcome to My Inky Friends' Blog Hop! This month we are featuring crafty ideas using products from the brand new Occasions Catalog. This catalog went live on January 3rd and runs through May 31, 2018. Should you get lost during the blog hop, you may find a list
of participants on the Inky Friends blog page. You may have arrived from Shelley's blog, Miss Mad Stamper, where she featured the Hold on to Hope Bundle. I'm excited to show you what I created with the Bubble Over Bundle (146082) on page 32 of the Occasions Catalog.
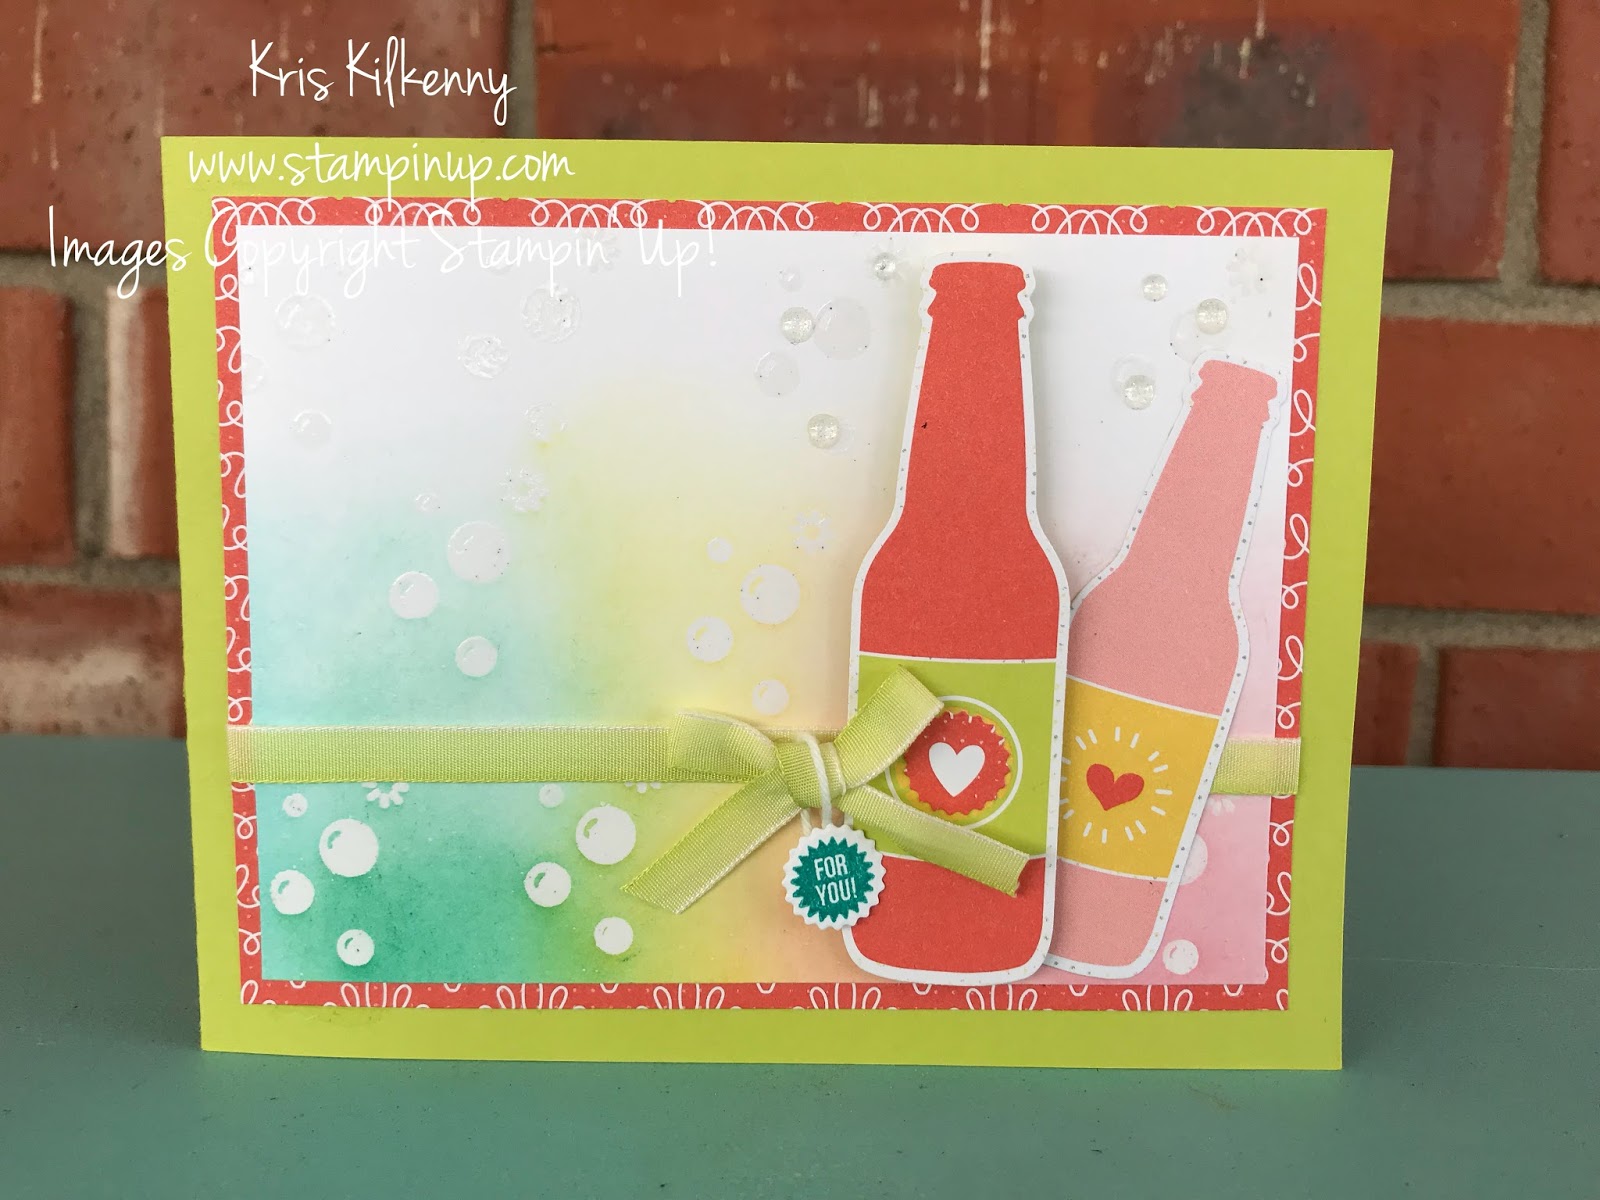


I created two traditional cards below. The left card does not use any Designer Series Paper. The images are all stamped. The card on the right uses the Bubbles and Fizz DSP:


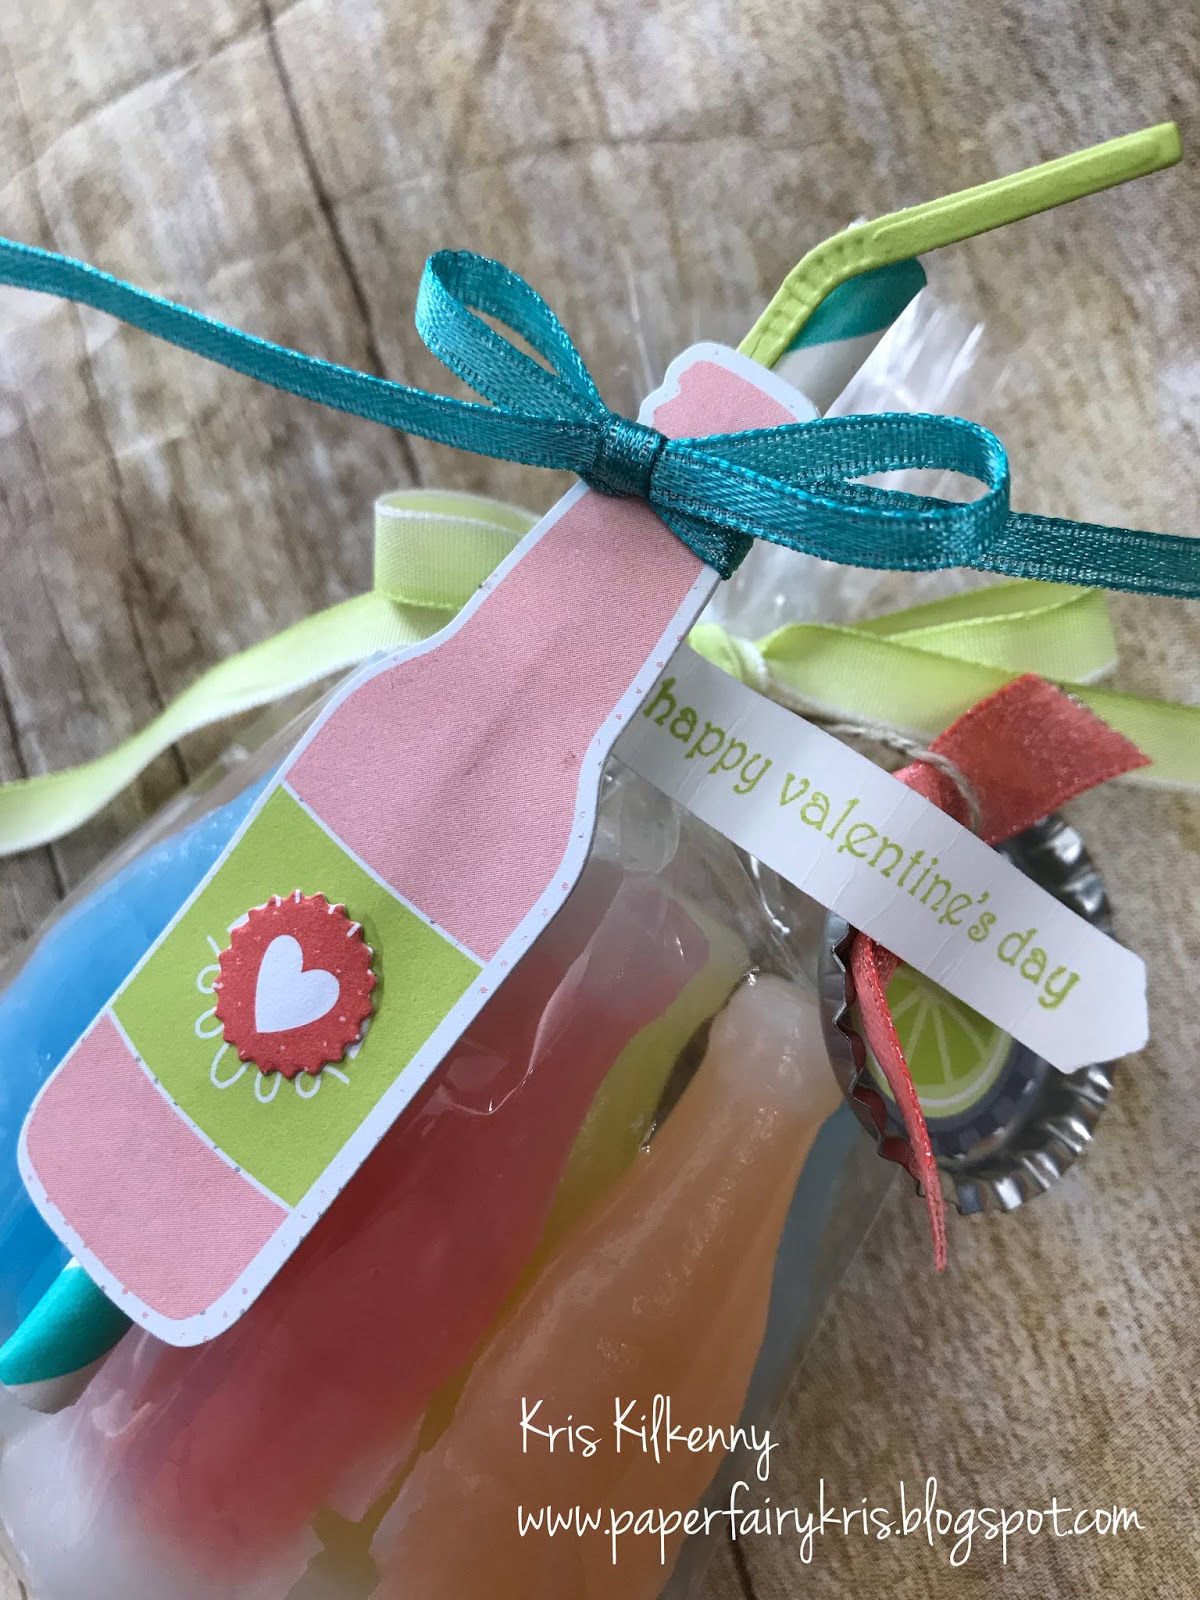
I just love the little bottle lid which you can cut out with the matching framelit. For the card above I stamped the images in the bottle caps. For the card below I cut them out with the DSP.


Thank
you for stopping by. Please say hello and leave a comment. Now it's
time to move ahead to see how Yapha used the Sunshine & Rainbows set. Hop on over to yaphamason.com to see what she created for us.


You can order any of the supplies to make this card by visiting www.stampinup.com. If you need a Stampin' Up! demonstrator, I would love to earn your business. I used these supplies:


- Stamp: Bubble Over (Bubble Over Bundle comes with the Bottles and Bubbles Framelits Dies and saves 10% as a bundle through May 31, 2018.)
- Designer Series Paper: Bubbles and Fizz DSP (SAB Free with $50 Purchase), Wood Textures Designer Series Paper Stack, Watercolor Paper
- Colors & Ink: Bermuda Bay, Daffodil Delight, Basic Gray, Calypso Coral, Lemon Lime Twist, Whisper White
- Embellishments: 1/4" Ombre Ribbon in Lemon Lime Twist, 1/2" Finely Woven Ribbon in Lemon Lime Twist, Solid White Bakers Twine, Shimmer Ribbon Combo Pack (SAB set Free with $50 Purchase), Glitter & Clear Epoxy Shapes
- Tools: Multipurpose Liquid Glue, Stampin' Trimmer, Paper Snips, Stampin' Dimensionals
- Punches: Classic Label Punch
- Big Shot: Bottles & Bubbles Framelits Dies, Wood Crate Framelits Die


Love your projects, Kris. My fav has got to be the little crate with the waxy bottled treats. Bring back fun memories.
ReplyDeleteWOW, WOW, WOW. Your projects are gorgeous. I love the crate inside the card. Clever. Love It!
ReplyDeleteWow, so many ideas! This is such a fun set.
ReplyDeleteFabulous projects, Kris! I love the first card with the crate inside! Super cute and clever.
ReplyDeleteKris this is amazing would I be able to bother you for the measurements you used on the card with the crate please I just have to try this. So gorgeous TIA
ReplyDeleteThank you! The card base is just a top fold card turned on it's side (4-1/4" x 11"). Inside the crate, put two 1/2" strips that are 4" long and fold the ends at 3/4" and 1/2". You will attach the bottles to these pieces. You can see more detail on another post I did where I used flowers here: http://paperfairykris.blogspot.com/2017/07/we-create-blog-hop-july-step-it-upWCBH7-1.html Let me know if you have anymore questions and let me know what you make. I'd love to see it!!
DeleteThese are so great! The crate, the wax bottles - just great ideas!
ReplyDeleteKris, Your projects are so much fun! I LOVE the pop up card. Such a great idea. Cute, Cute, Cute!!
ReplyDeleteOh my gosh, the pop up six pack is AWESOME!!! And those wax bottles sure bring back memories - I didn't even know they made hem anymore!
ReplyDeleteKris, these projects are so fun! I love the wood crate pop-up mechanism for the inside of the card. What a great idea!
ReplyDeleteHow much fun are your projects?!? I can't wait to get playing with this set and paper! Thanks for the inspiration.
ReplyDeleteAmazing cuteness, Kris! Love the wax bottles and fantastic colors!!
ReplyDeleteI love your card with the popup Box. Is there a template for that? Beautiful cards
ReplyDeleteThank you! I do not have a template but I made a similar design with instructions here: http://paperfairykris.blogspot.com/2017/07/we-create-blog-hop-july-step-it-upWCBH7-1.html
Delete